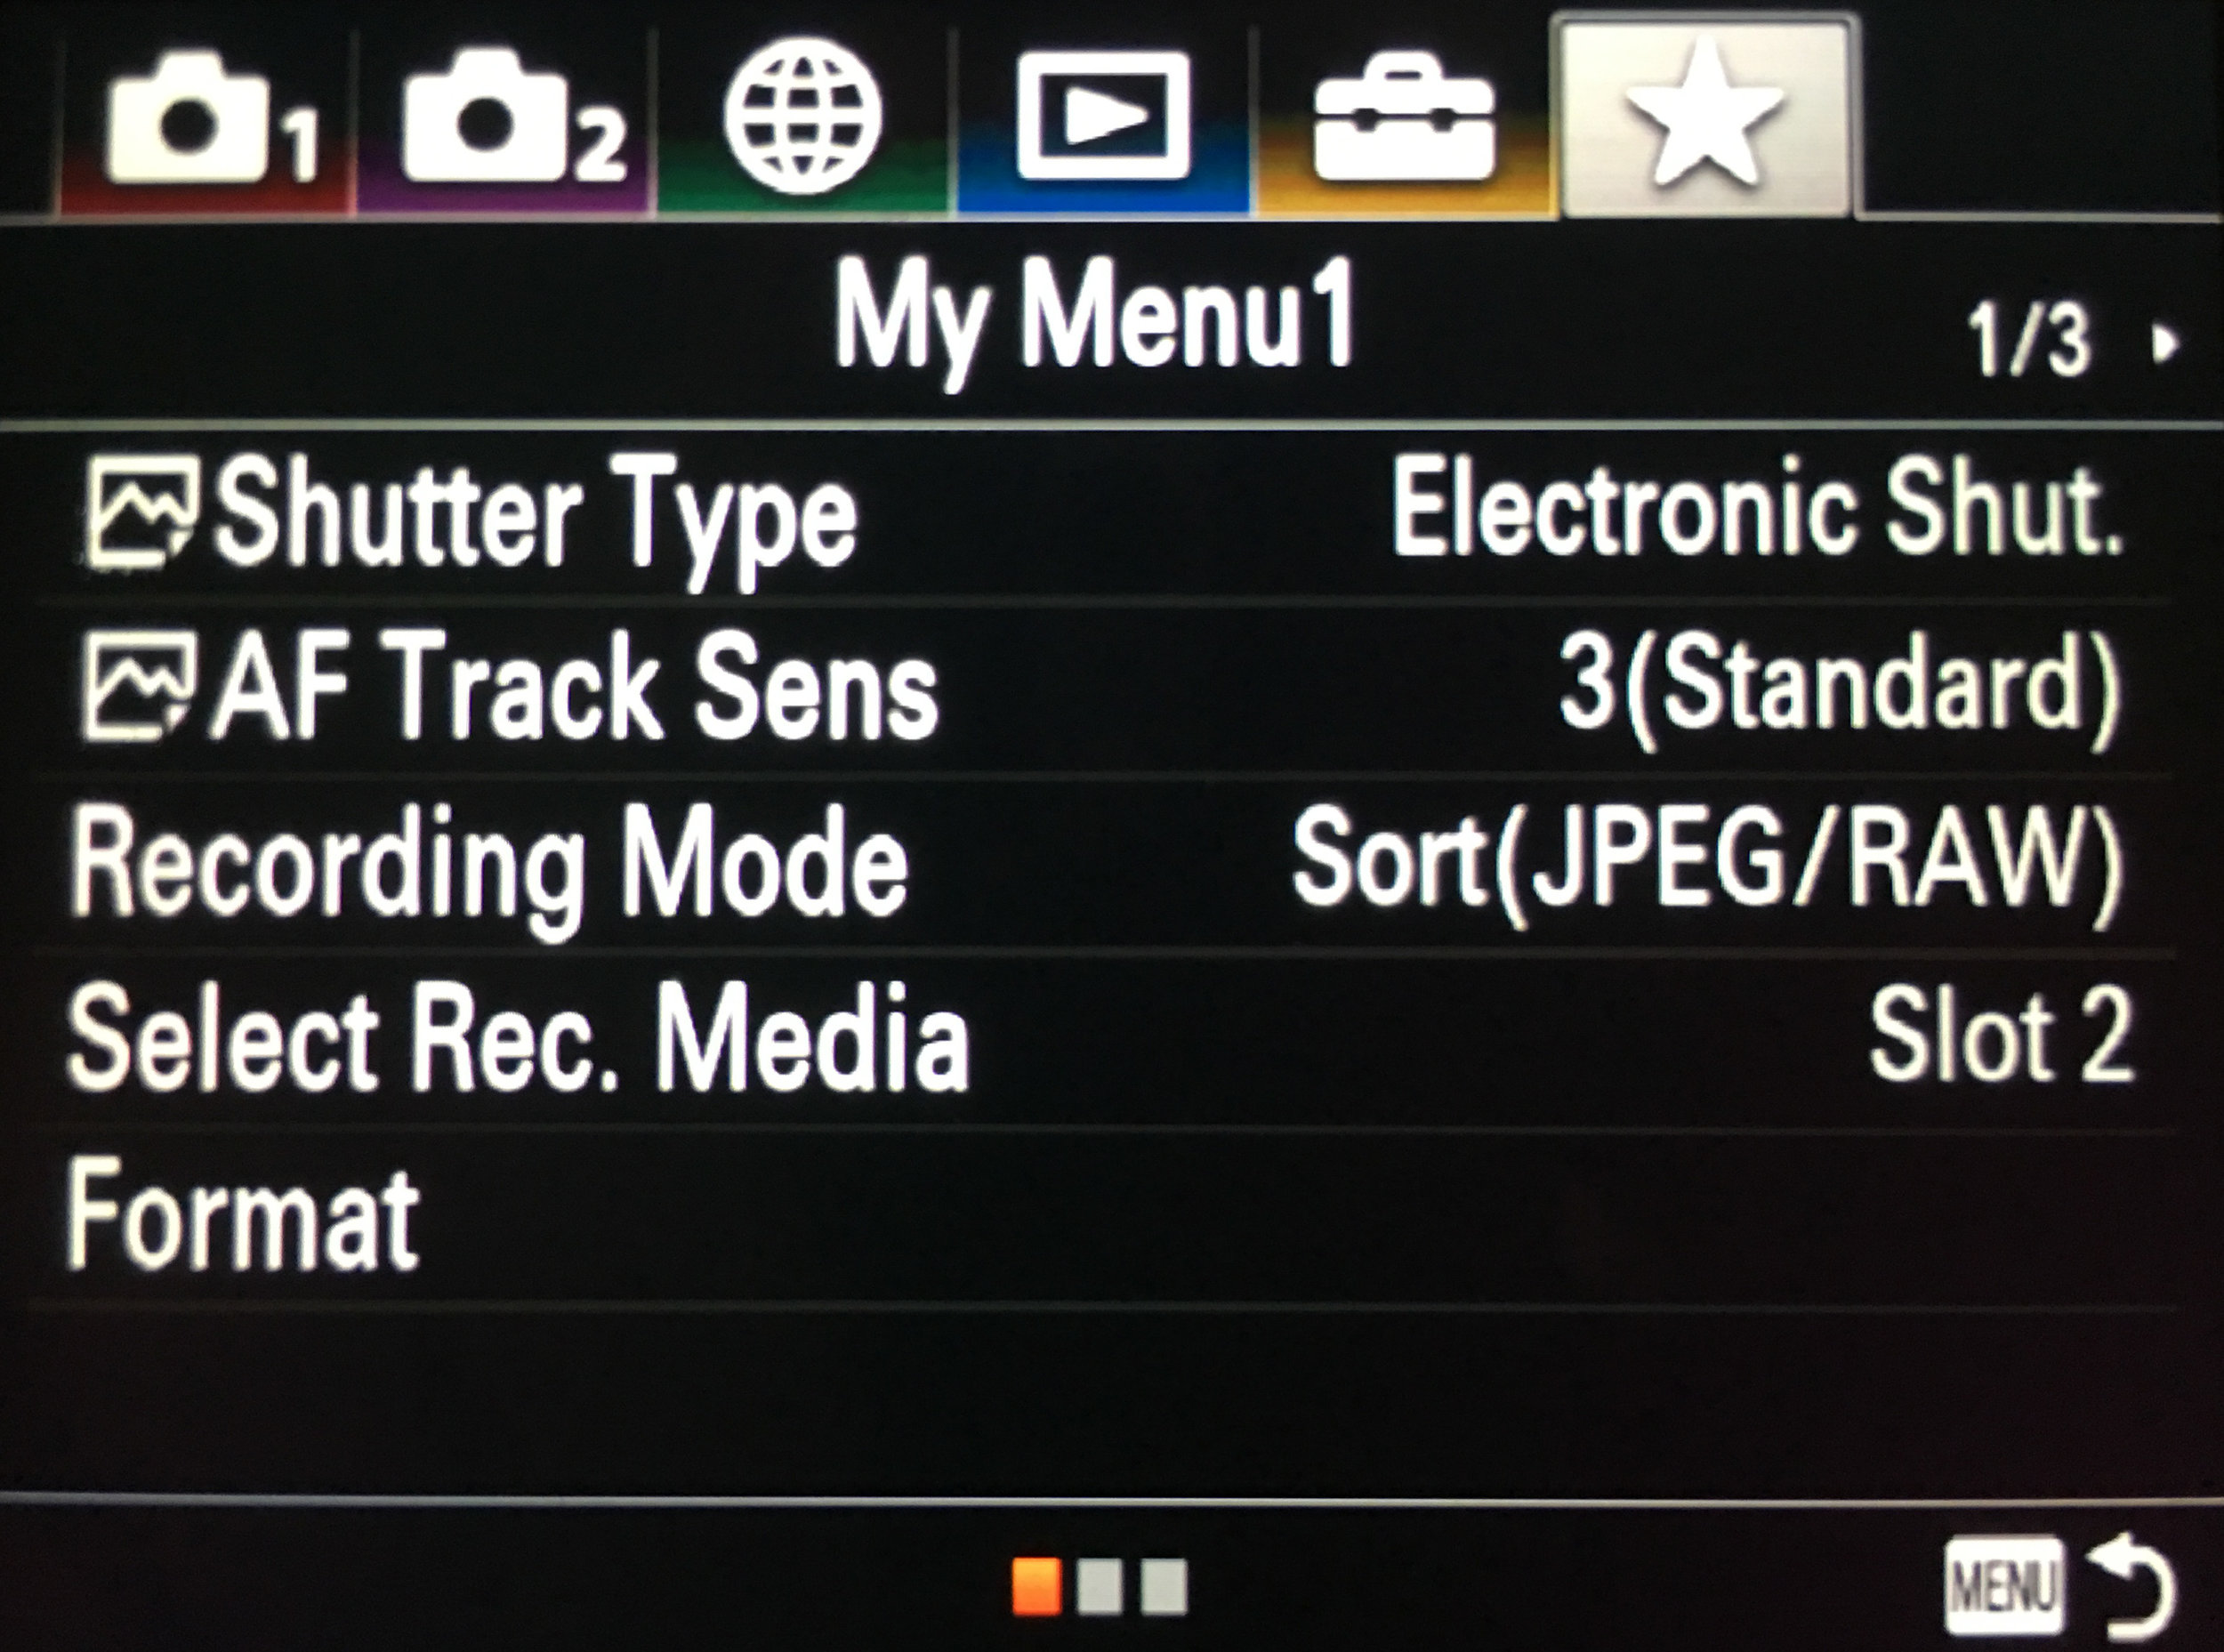
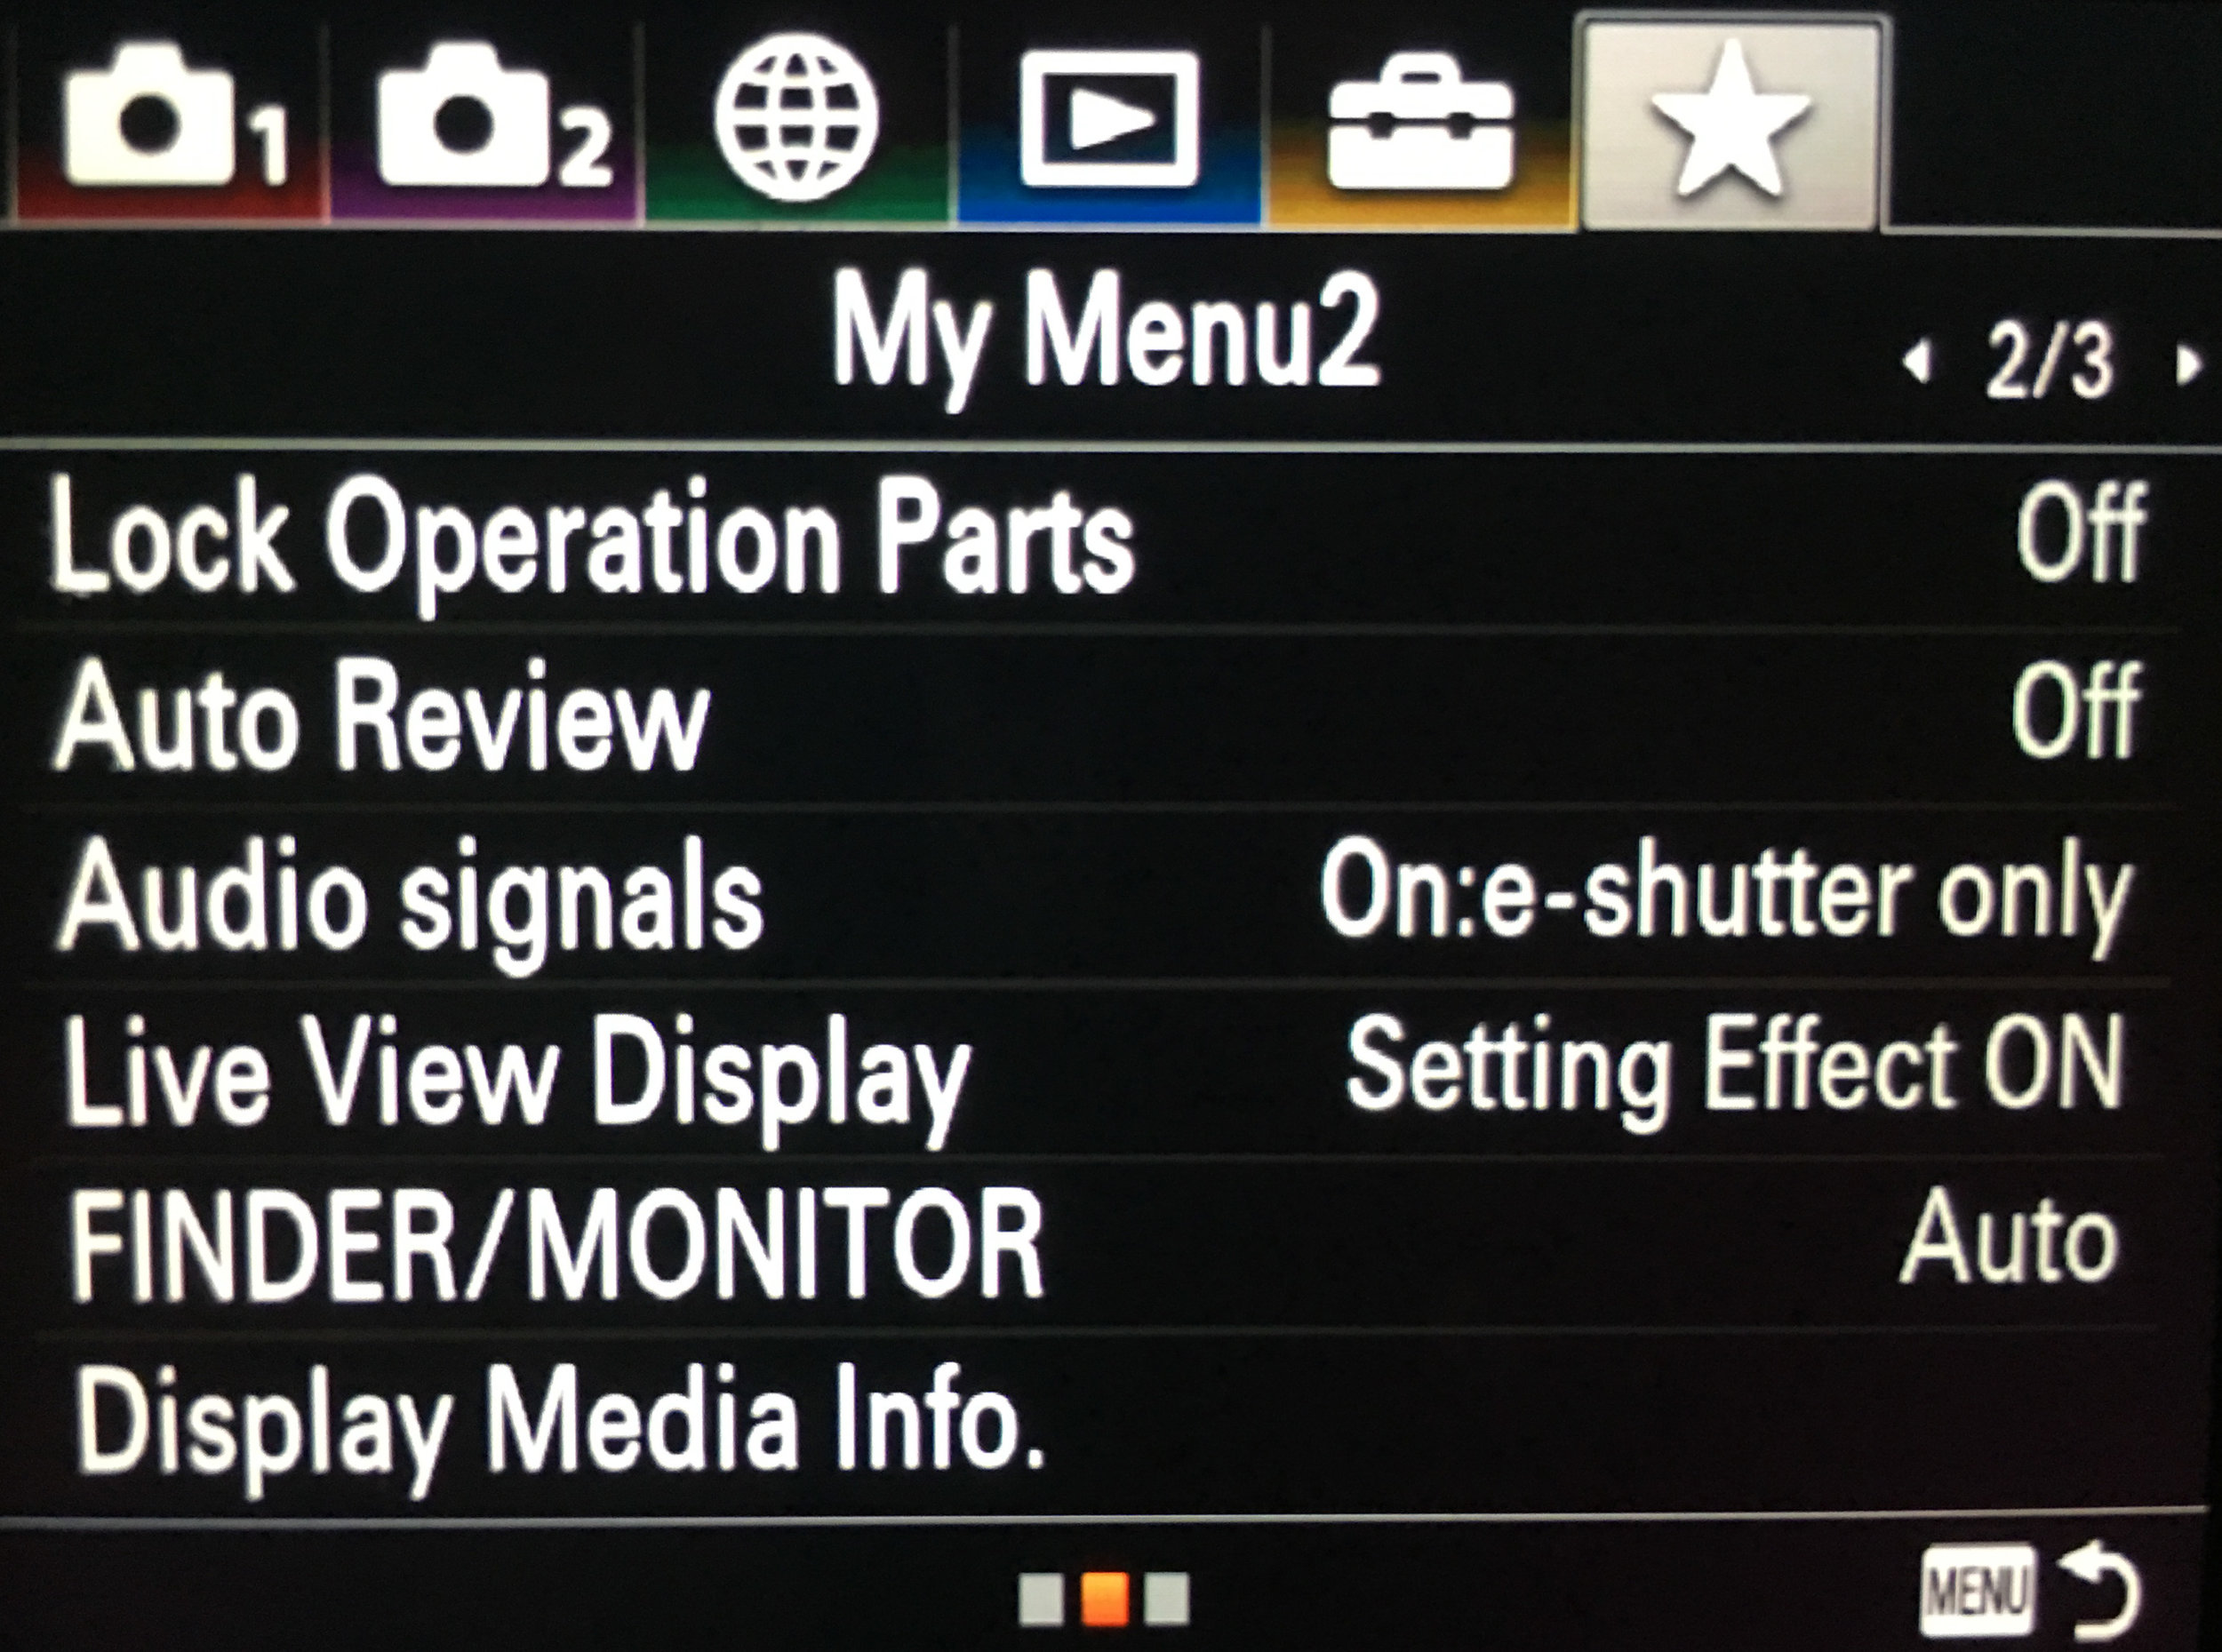
I’ve had several inquires about how I’ve set up my Sony A9’s. One of the complaints about the Sony menus is they are confusing. That’s a fair assessment… sort of. They are just set up differently Canon and Nikon. With C&N, there are around half a dozen main “tabs” each of which have several pages to scroll through. Sony also has about half a dozen main tabs, but instead of scrolling down through menu items which are not visible until scrolling, the Alpha series has you scroll to the right to different pages which are numbered in the upper RH corner.
The quick version is C&N menus scroll North-South, and Sony menus go East-West. Neither is necessarily better, they are just different. Give it a few weeks and the layout will seem normal.
Here are my Sony A9 settings. If you don’t see a menu item it’s either because it’s user specific (like Network Settings) or it’s a function/operation (like Format or Send to Smartphone).
CAMERA 1 (RED CAMERA)
1/13 QUALITY / IMAGE SIZE 1
Quality RAW & JPEG, RAW
RAW and JPEG - I shoot both at sporting events as I need to be able to transmit JPEG images to the social media managers throughout the course of the game
RAW - For proper shoots I usually only shoot RAW as there is no need for the JPEG
RAW File Type Compressed
Image Size L: 24M
Aspect Ratio 3:2
APC-C / Super 35mm Off
I leave the A9 in full frame mode. Now, on my A7RIII, I have the C2 button set up to throw it into crop mode (APS-C) so my 400mm actually behaves like a 400 and a 600, both at f/2.8
Color Space n/a in RAW
2/13 QUALITY / IMAGE SIZE 2
High ISO NR Normal
Color Space sRGB
Lens Comp Auto, Auto, Off
3/13 SHOOT MODE / DRIVE
Self-timer Type Self-timer (Single) - 5 seconds
Bracket Settings Cont. Bracket, Off, ->0>+
1/2 Recall n/a, only for 1, 2, or 3 on the mode dial
1/2 Memory n/a
4/13 AF 1
Priority Set in AF-S AF
Priority Set in AF-C Balanced Emphasis
Swt. V/H AF Area AF Point
AF Illuminator Off
5/13 AF 2
Center Lock-on AF Off
AF Track Sens Typically 3 or 4
AF w/shutter Off
This is Sony-speak for back button focusing. If you back button focus, turn this off, if you don’t leave it on. If you’re not sure what BBF is, you’re putting the action of grabbing focus and opening the shutter on two different controls. Almost all of the sports guys I know do this, but I do know a few who don’t so this is going to be a personal preference.
Pre-AF Off
6/13 AF 3
AF Area Regist Off
AF Area Auto Clear Off
Disp cont AF area On
7/13 EXPOSURE 1
Reset EV Comp Reset
Metering Mode usually Multi, but varies
Spot Metering Point Focus Point Link
8/13 EXPOSURE 2
Exposure step 0.3 EV
AEL w/shutter Auto
Exposure Std Adjust leave this alone unless you know what it is
9/13 FLASH
Flash Mode Flash Off
Flash Comp 0.0
Exp comp set Ambient & Flash
Wireless Flash Off
Red Eye Reduction Off
10/13 COLOR / WB / IMG PROCESSING
White Balance Often Auto, but varies, underwater is interesting
Priority Set in AWB Standard
DRO / Audo HDR Off
Creative Style Standard
Picture Effect Off, n/a in RAW
11/13 FOCUS ASSIST 1
Focus Magnifier Time No Limit
Initial Focus Mag x4.7
AF in Focus Mag On
MF Assist Off, but this is interesting…
If you throw the switch on your lens into MF (manual focus), as soon as you twist the focus ring, it zooms in to assist in grabbing focus. More of a video thing, but really great as I don’t know of any Canon or Nikon cameras which do this.
Peaking Level Off
12/13 FOCUS ASSIST 2
Peaking Color White
13/13 FACE DETECTION / SHOOT ASSIST
Face Detection On if you are taking pictures of people
CAMERA 2 (PURPLE CAMERA)
1/9 MOVIE 1
File Format XAVC S HD / 4k or HD
Record Setting 24p 50M
- in 4k you have 24p or 30p (and 30 should NEVER be an option!)
- in HD you have 24p, 30p, 60p, and 120p (30 fps also sucks in HD)
S&Q Settings 24, 120 fps
Dual Video REC Off
2/9 MOVIE 2
AF Drive Speed Normal
AF Track Sens Standard (responsive can be too jumpy)
Auto Slow Shut On
Audio Recording On
Audio Level Display On
3/9 MOVIE 3
Audio Out Timing Live
Wind Noise Reduct On
Marker Display Off
Marker Settings Off
Video Light Mode Power Link
Movie w/ shutter Off
4/9 SHUTTER / STEADY SHOT
Shutter Type Mechanical / Electronic
Mechanical for using strobes
Electronic for everything else - you’ll need to be in this to get the 20 fps
e-Front Curtain Shut On (only in Mechanical shutter mode)
Release w/o Lens Disable
Release w/o Card Disable
This should NEVER be turned on!!! Never, ever, ever. Leave this on and at some point, you’re going to shoot a game or a session only to discover you have zero images. Then you’ll get sacked. DISABLE this now!
SteadyShot On
SteadyShot Settings Auto
5/9 ZOOM
6/9 DISPLAY / AUTO REVIEW 1
DISP Button Lots of option here for both the MONITOR and FINDER
MONITOR - No Disp Info, Histogram, Level, For Viewfinder
FINDER - No Disp Info, Histogram, Level
FINDER / MONITOR Auto (usually)
This is really great until you get into a dark room at which time the lack of light makes the camera believe you are looking through the viewfinder and thus blocking the light sensor which determines whether to use the viewfinder or monitor. I have C1 set to toggle this when necessary.
Finder Frame Rate High
Zebra Off
Grid Line Off
Exposure Set Guide Off
7/9 DISPLAY / AUTO REVIEW 2
Live View Display Setting Effect ON (Off for strobes)
Shoot Start Disp Off
Shoot Timing Disp On: Type 4
Cont Shoot Length Always Displayed
Auto Review Off
8/9 CUSTOM OPERATION 1
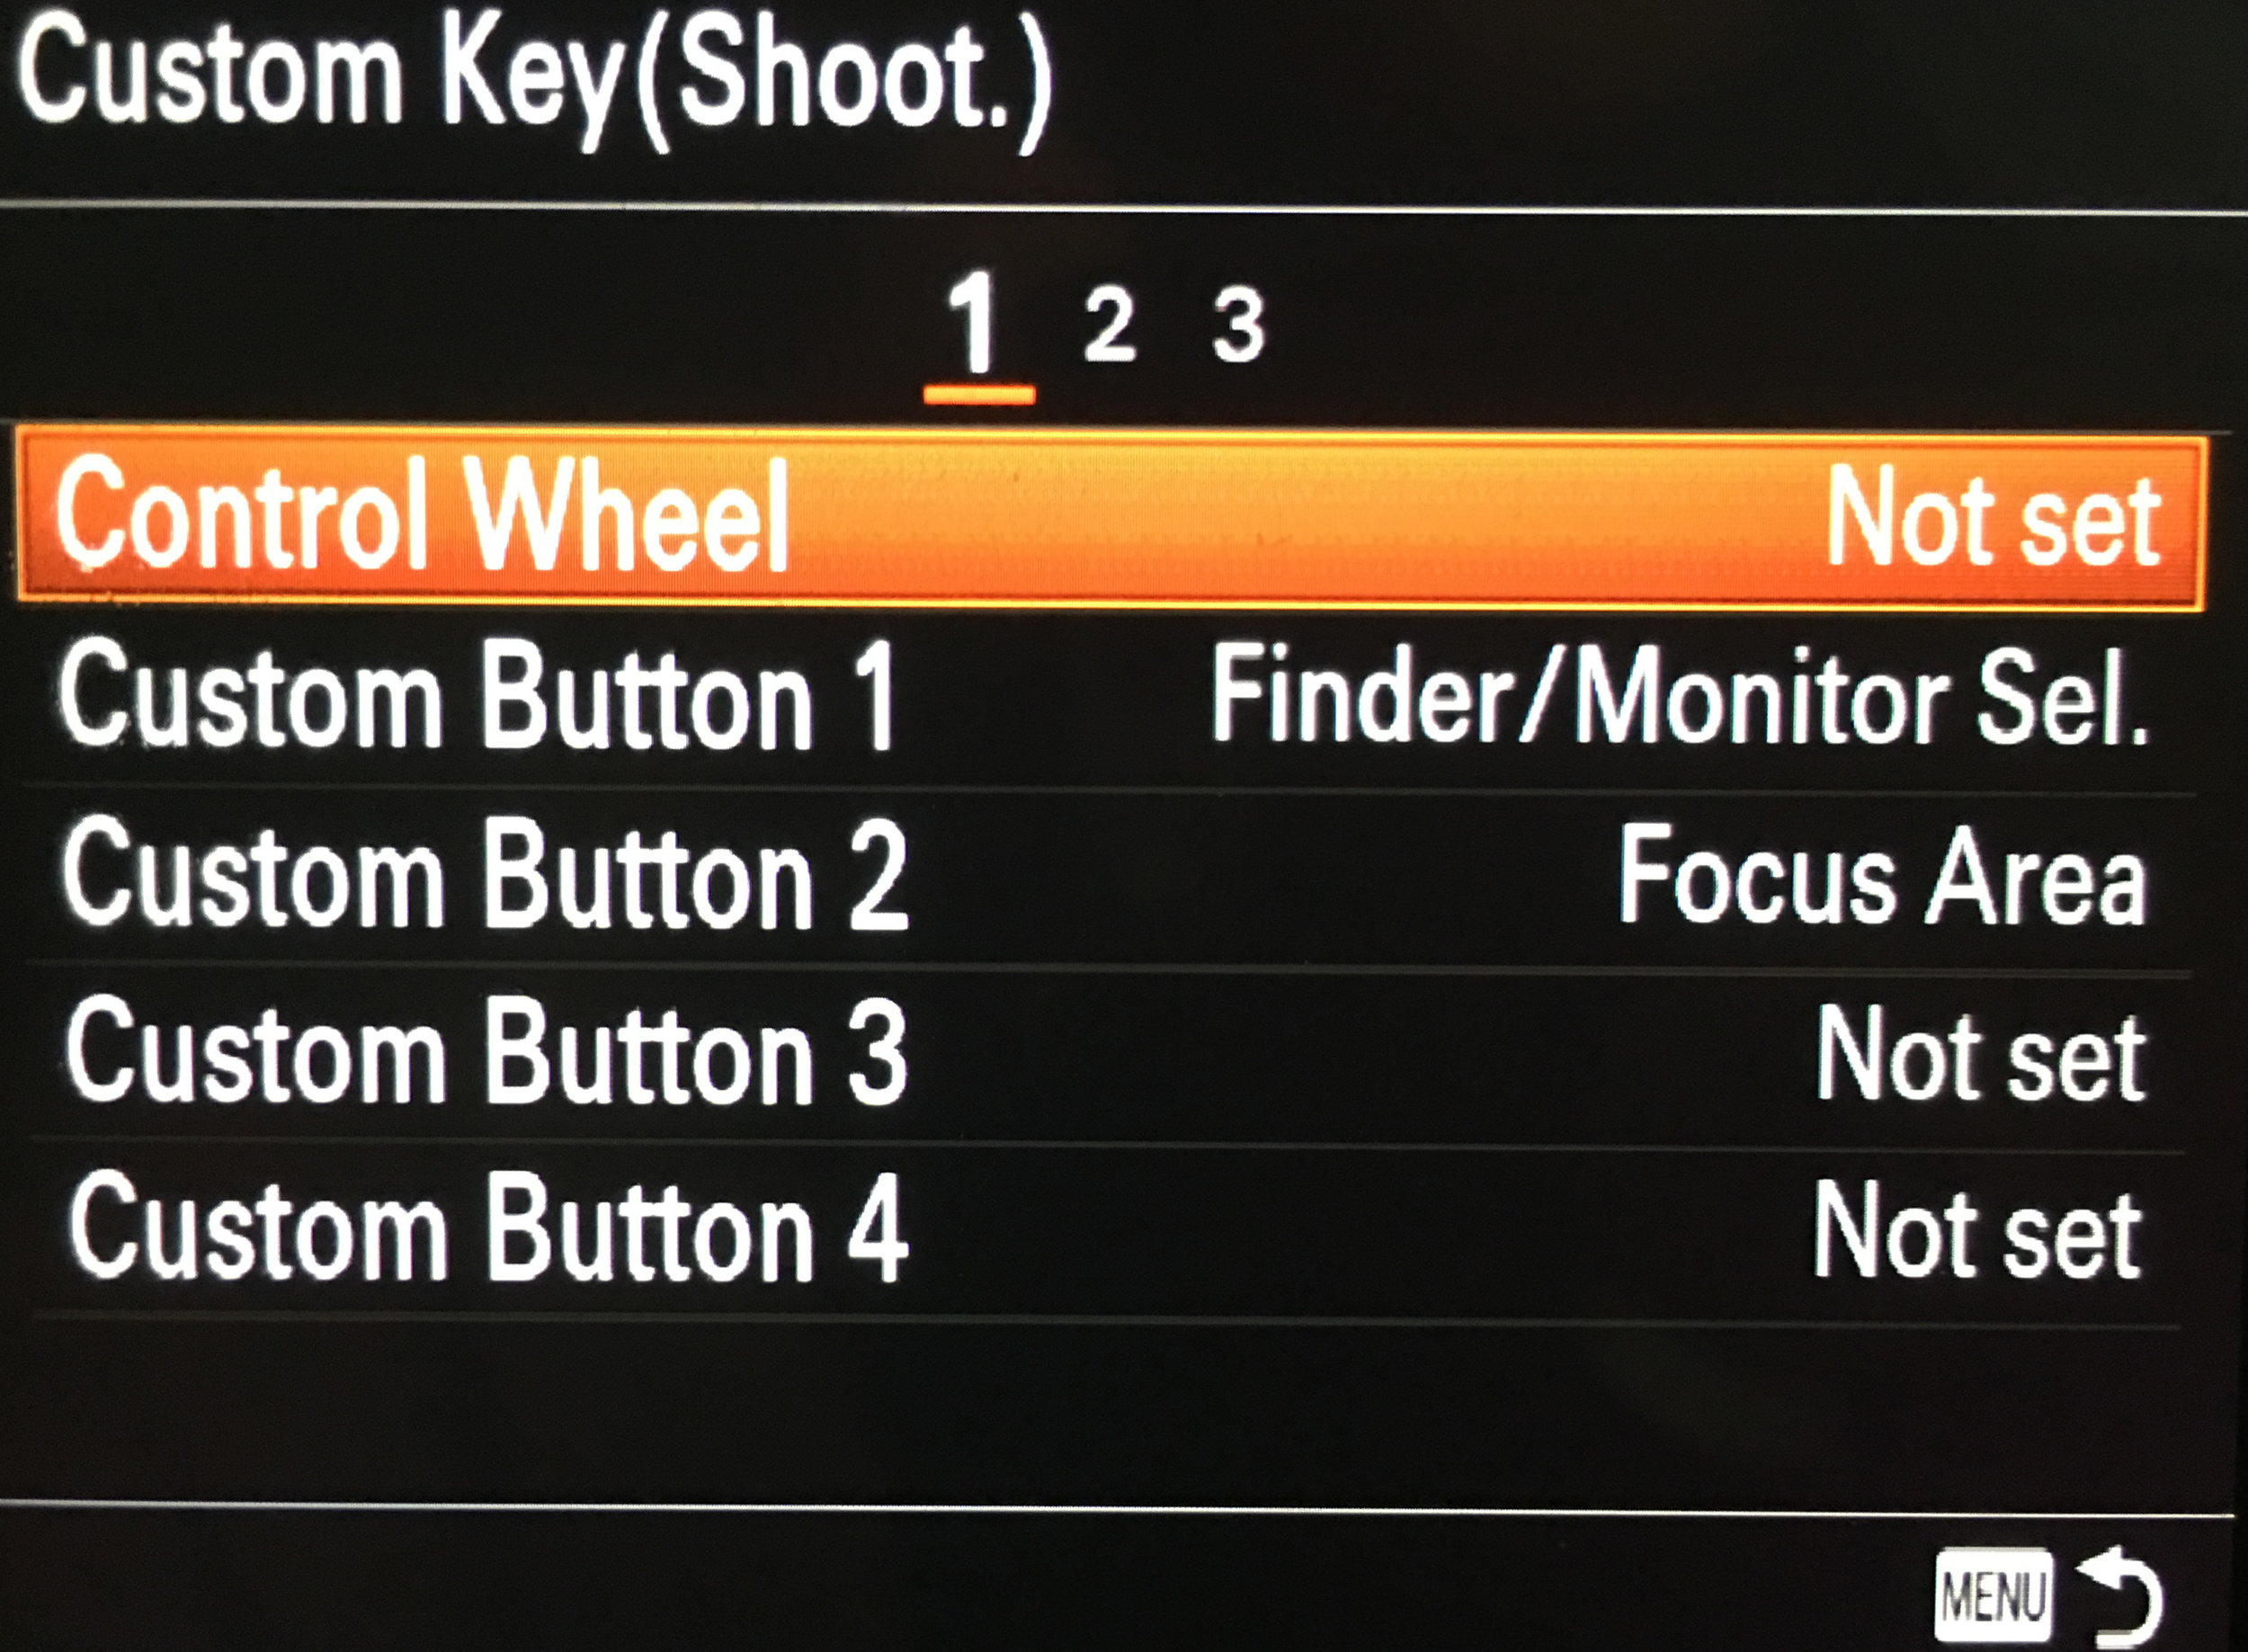
Custom Key (Shoot)
1 Control Wheel Not set
Custom Button 1 Finder/Monitor Sel
Custom Button 2 Focus Area
Custom Button 3 Not set
Custom Button 4 Not Set
2 Multi-Slc Center Btn Focus Standard
Center Button Focus Magnifier (only in AF-S mode)
Left Button White Balance
Right Button ISO
Down Button Not Set
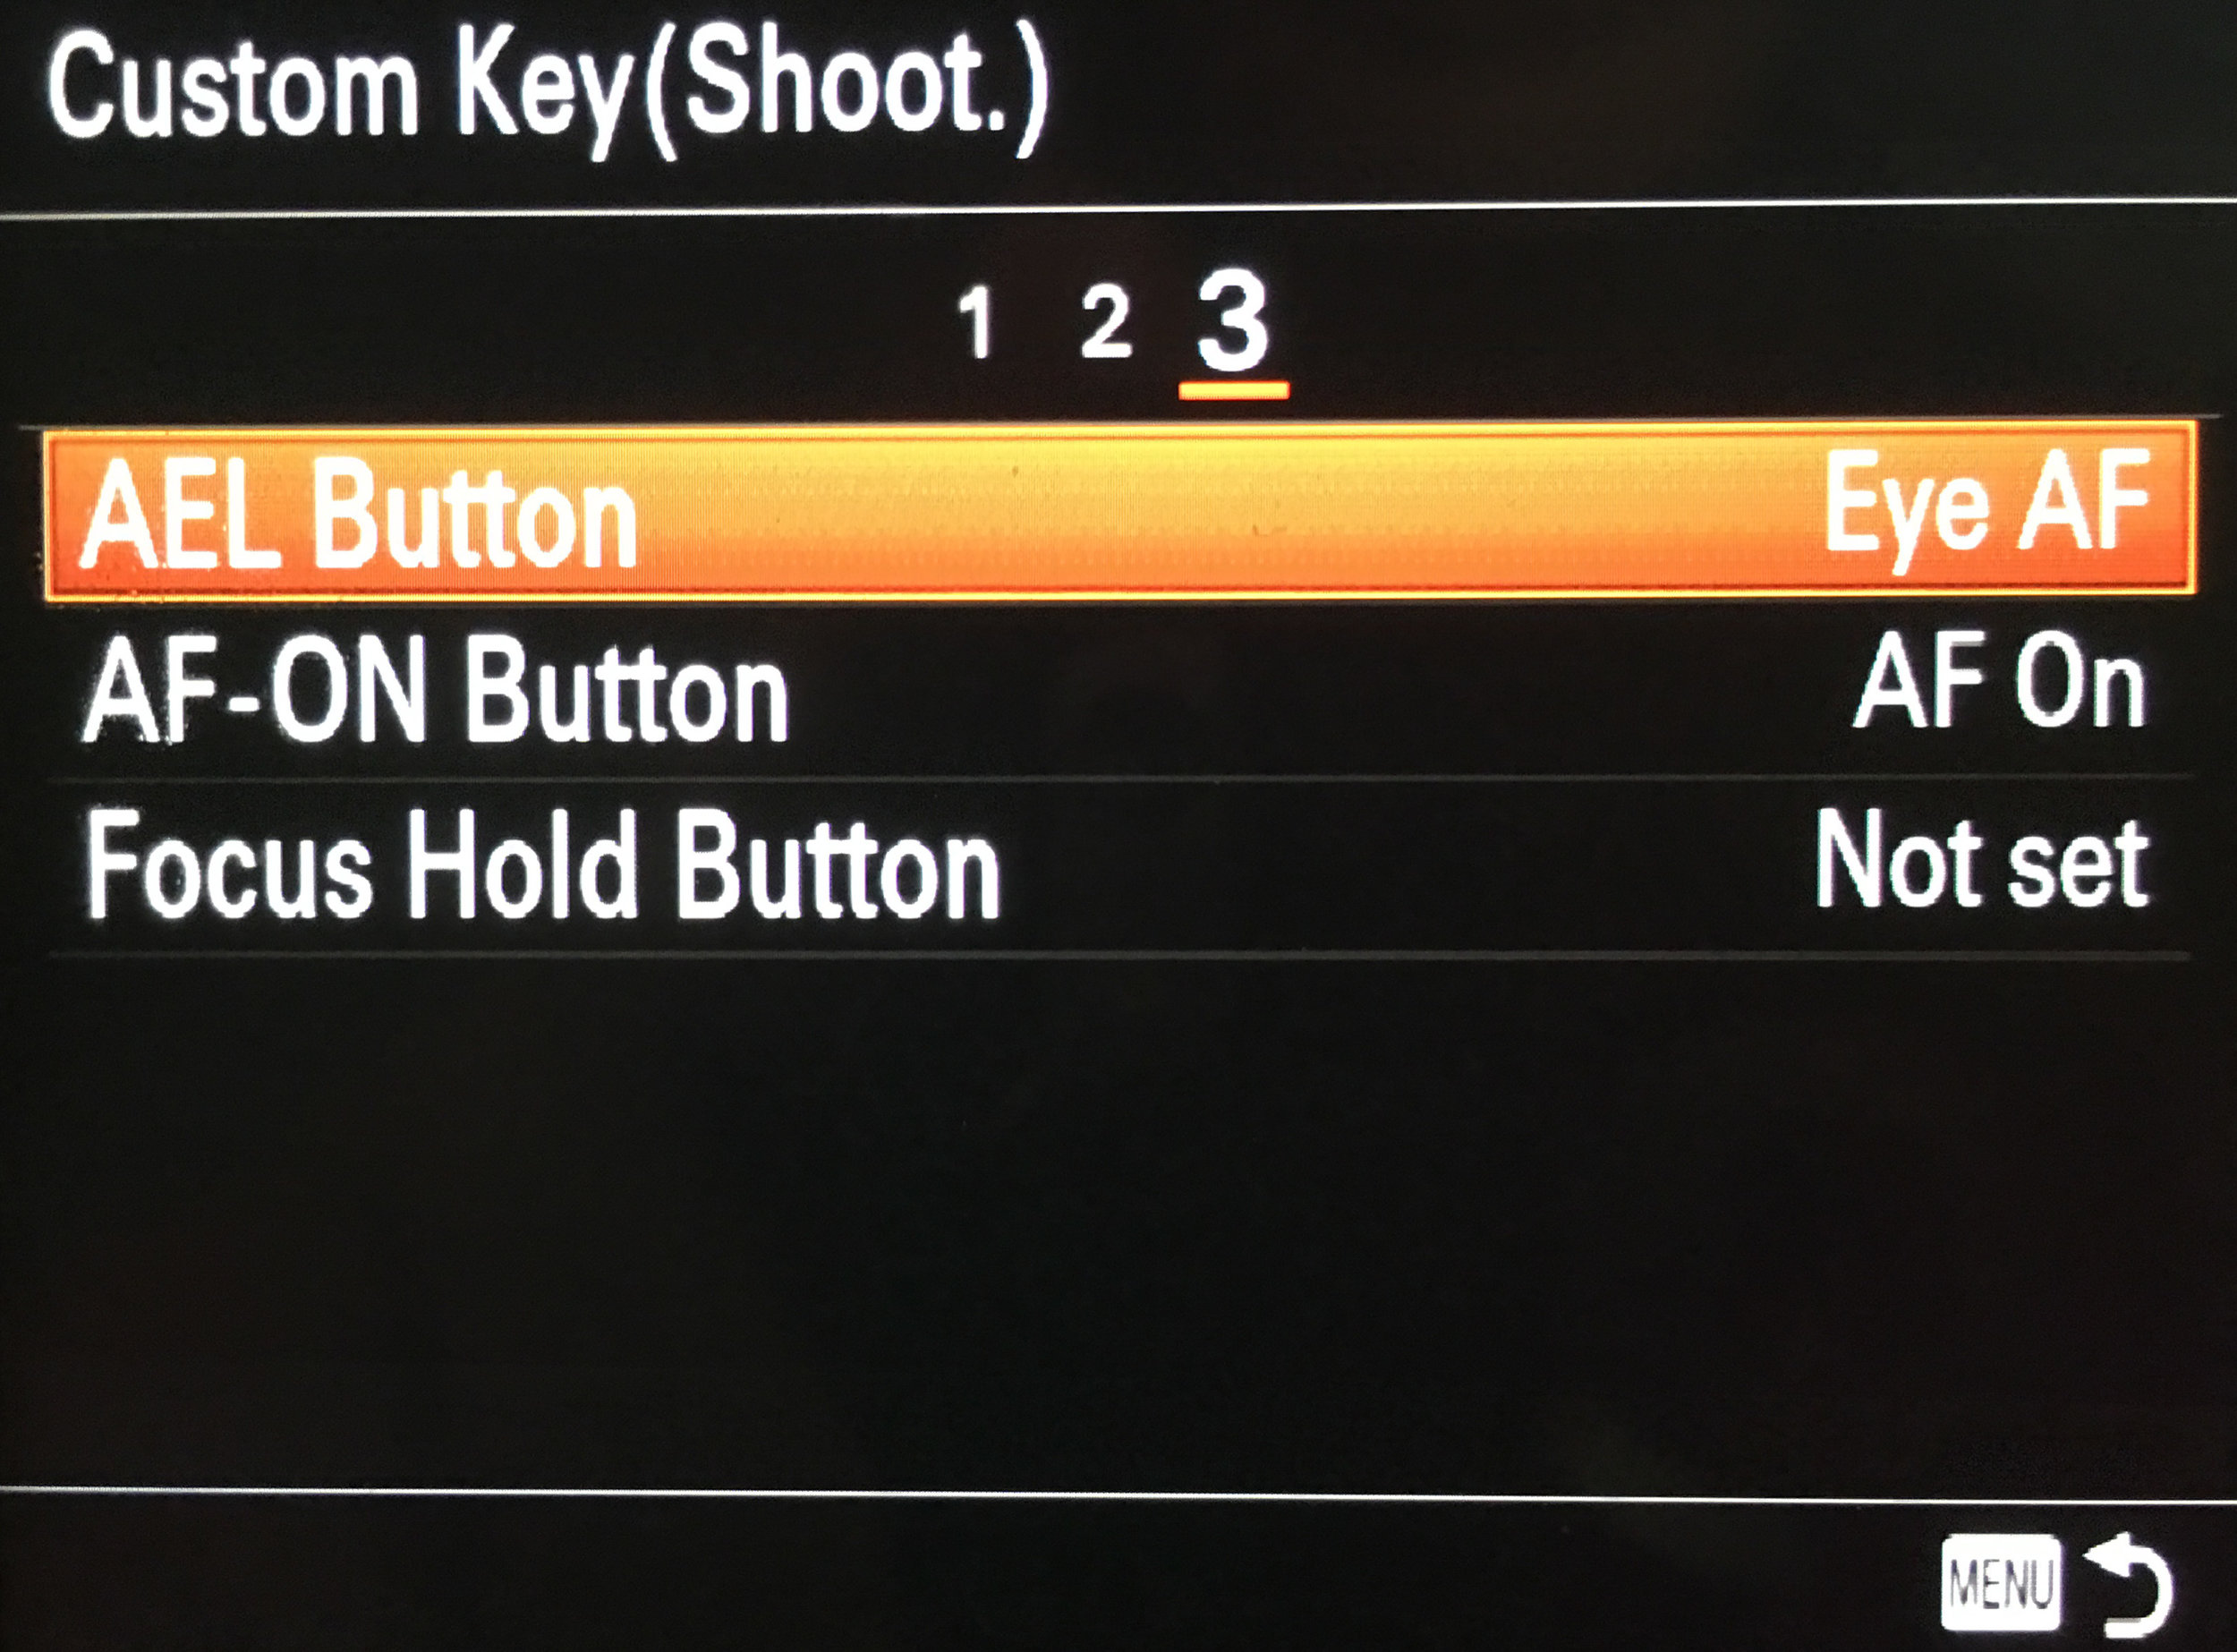
3 AEL Button Eye AF
AF-ON Button AF On
Focus Hold Button Not set (the button on G Master lenses)
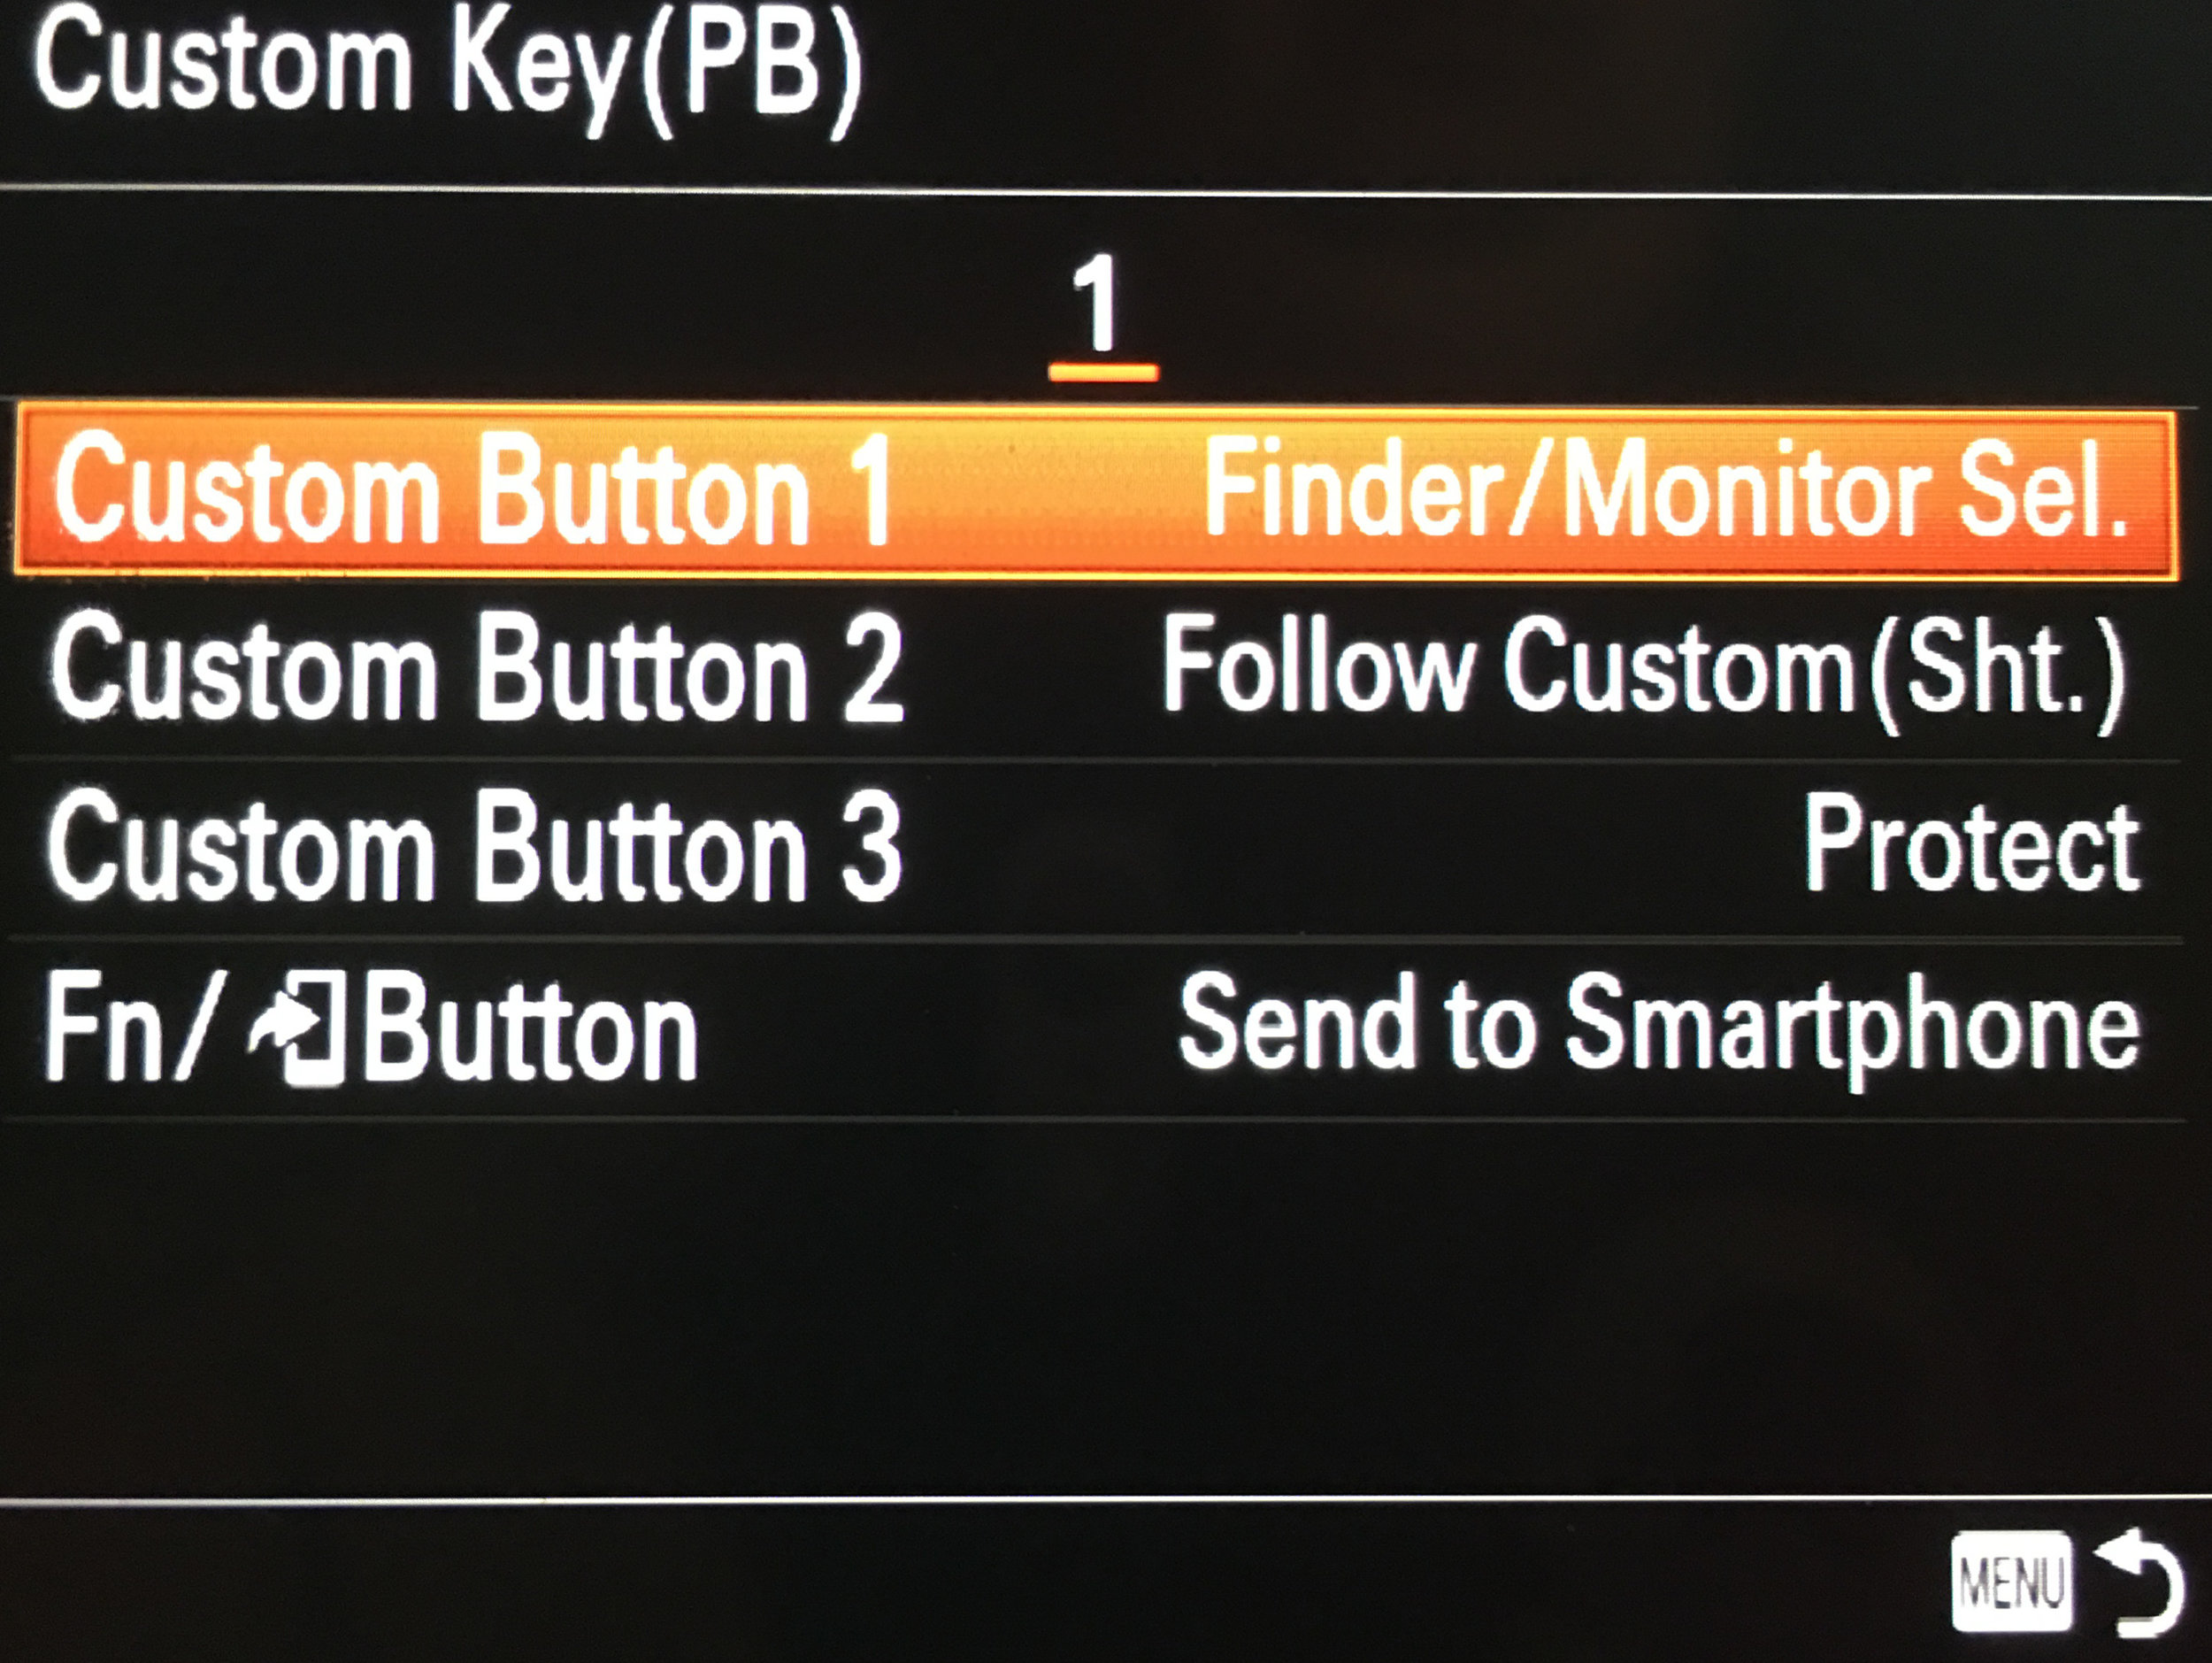
Custom Key (PB)
1 Custom Button 1 Finder/Monitor Set
Custom Button 2 Follow Custom (Sht.) - Not Set
Custom Button 3 Protect (lock image)
Fn/ Button Sent to Smartphone

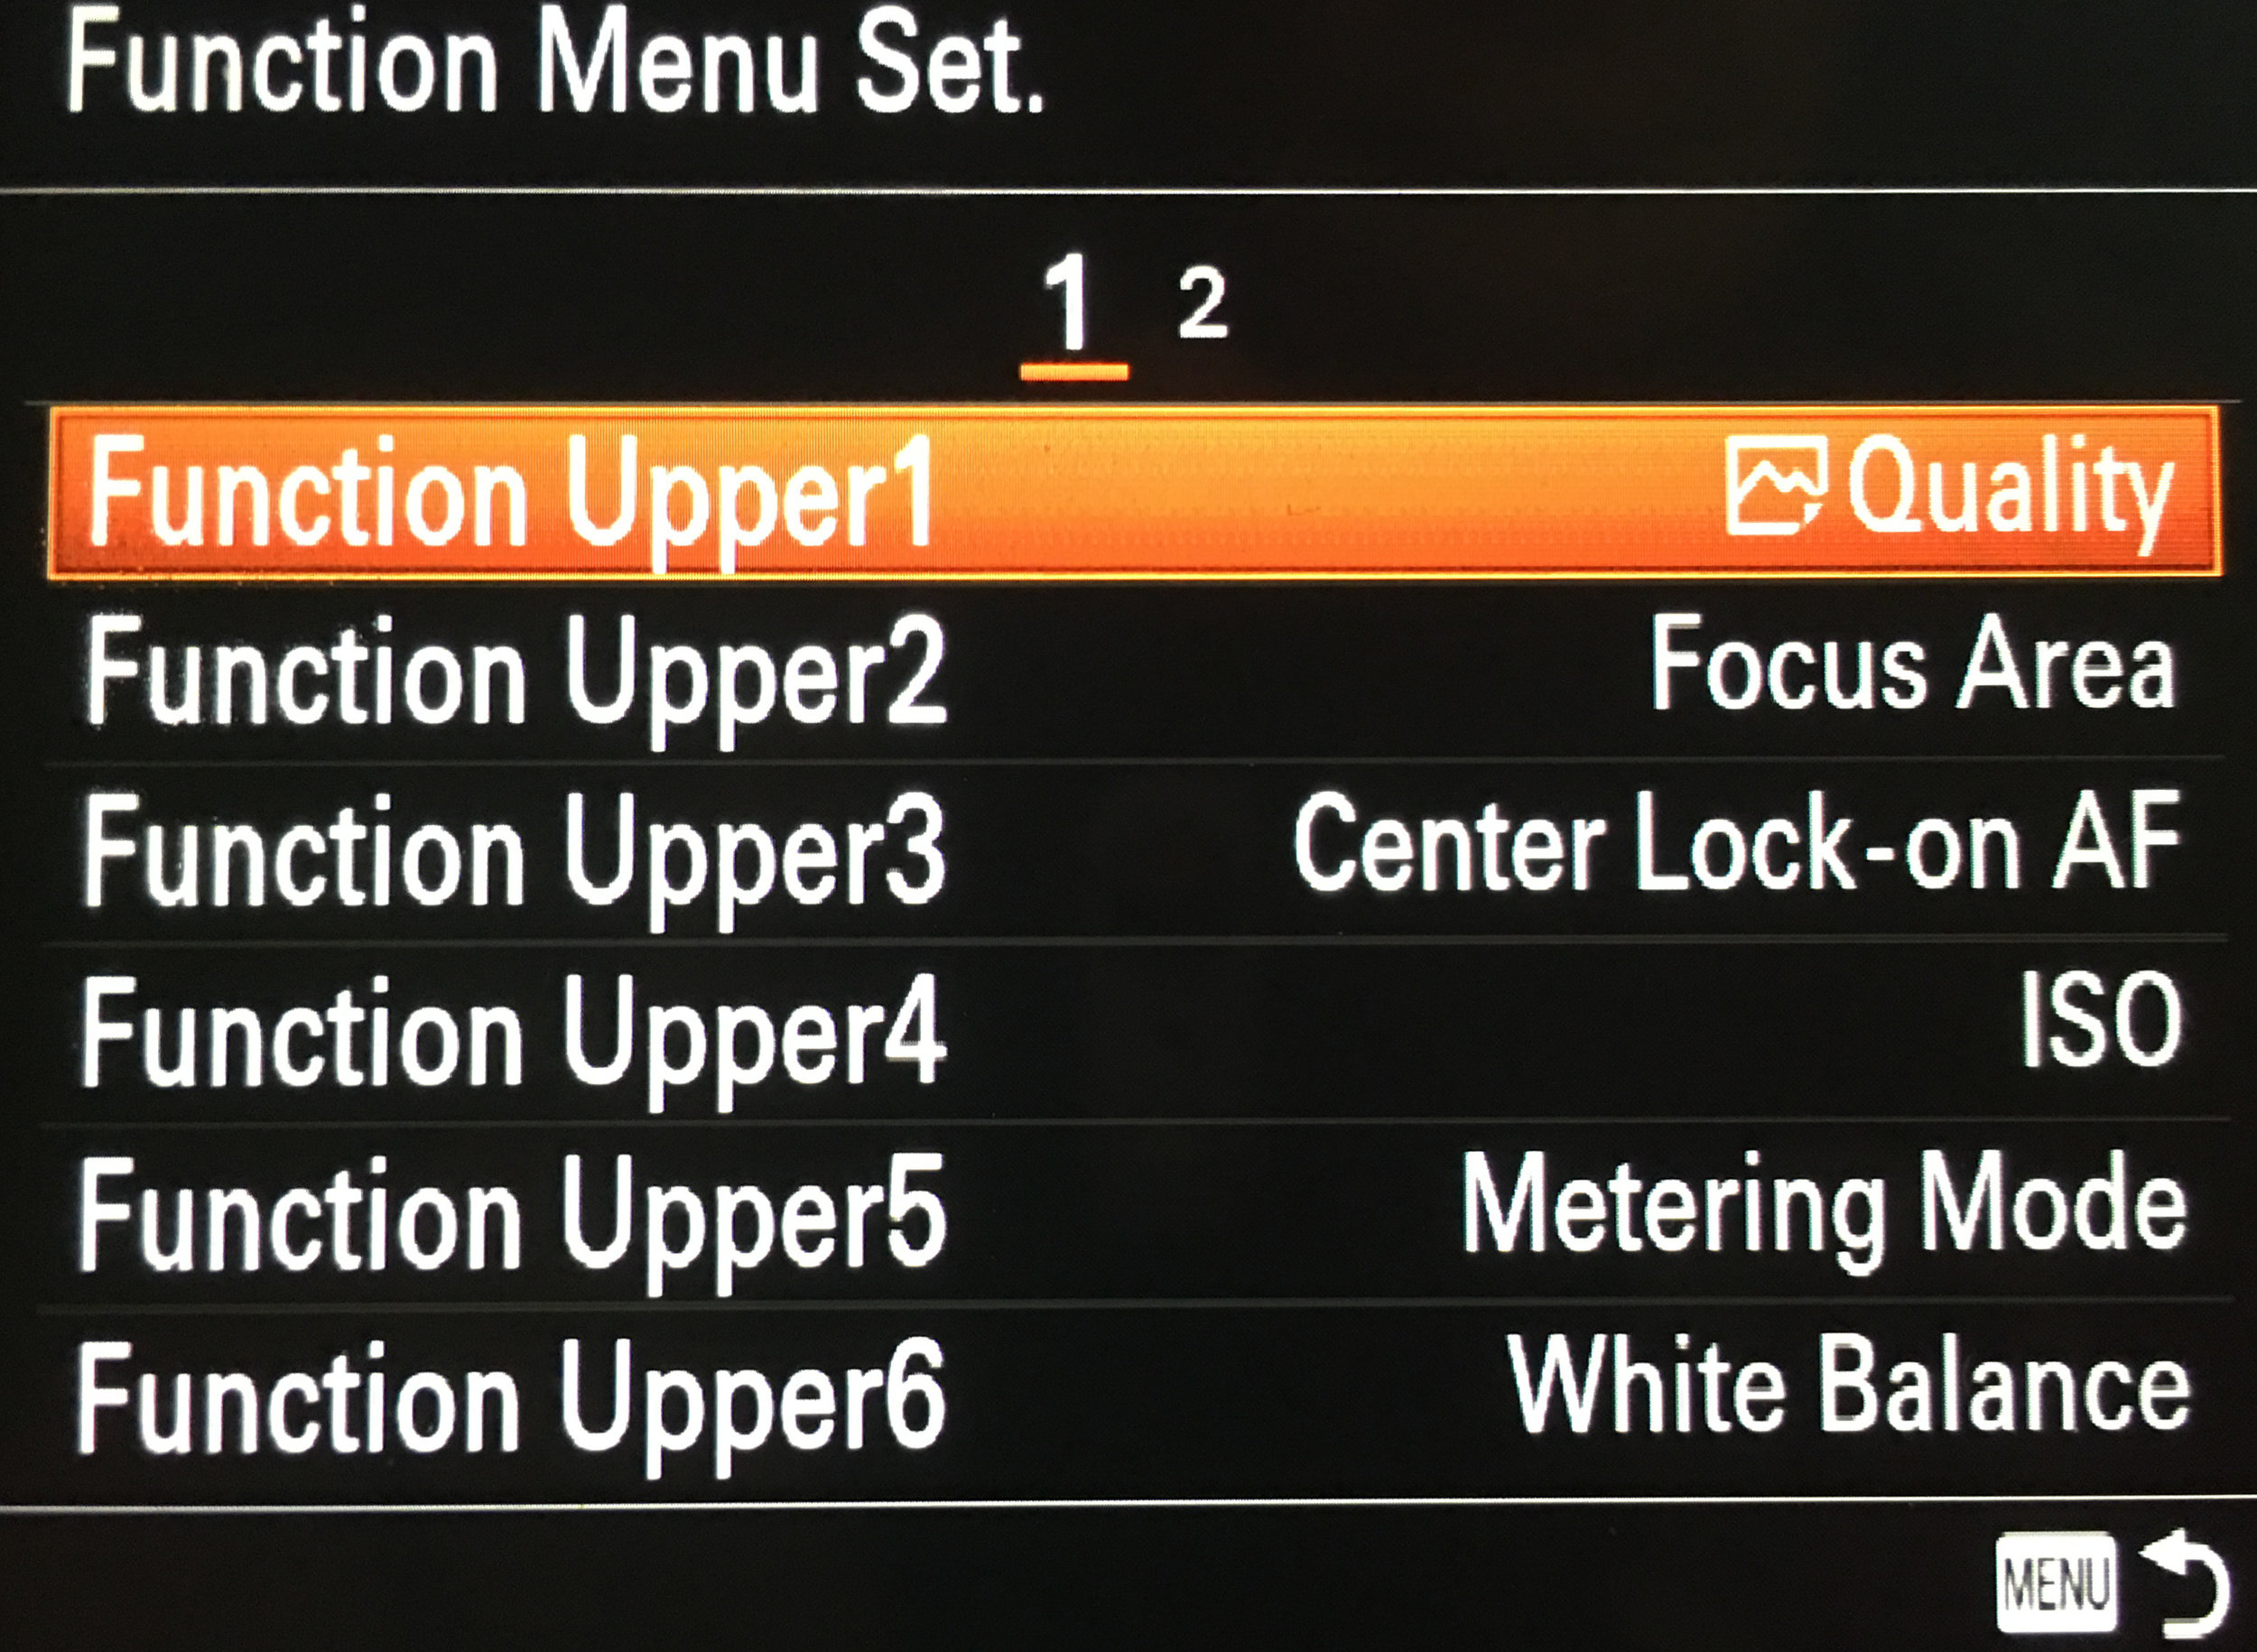
Function Menu Set
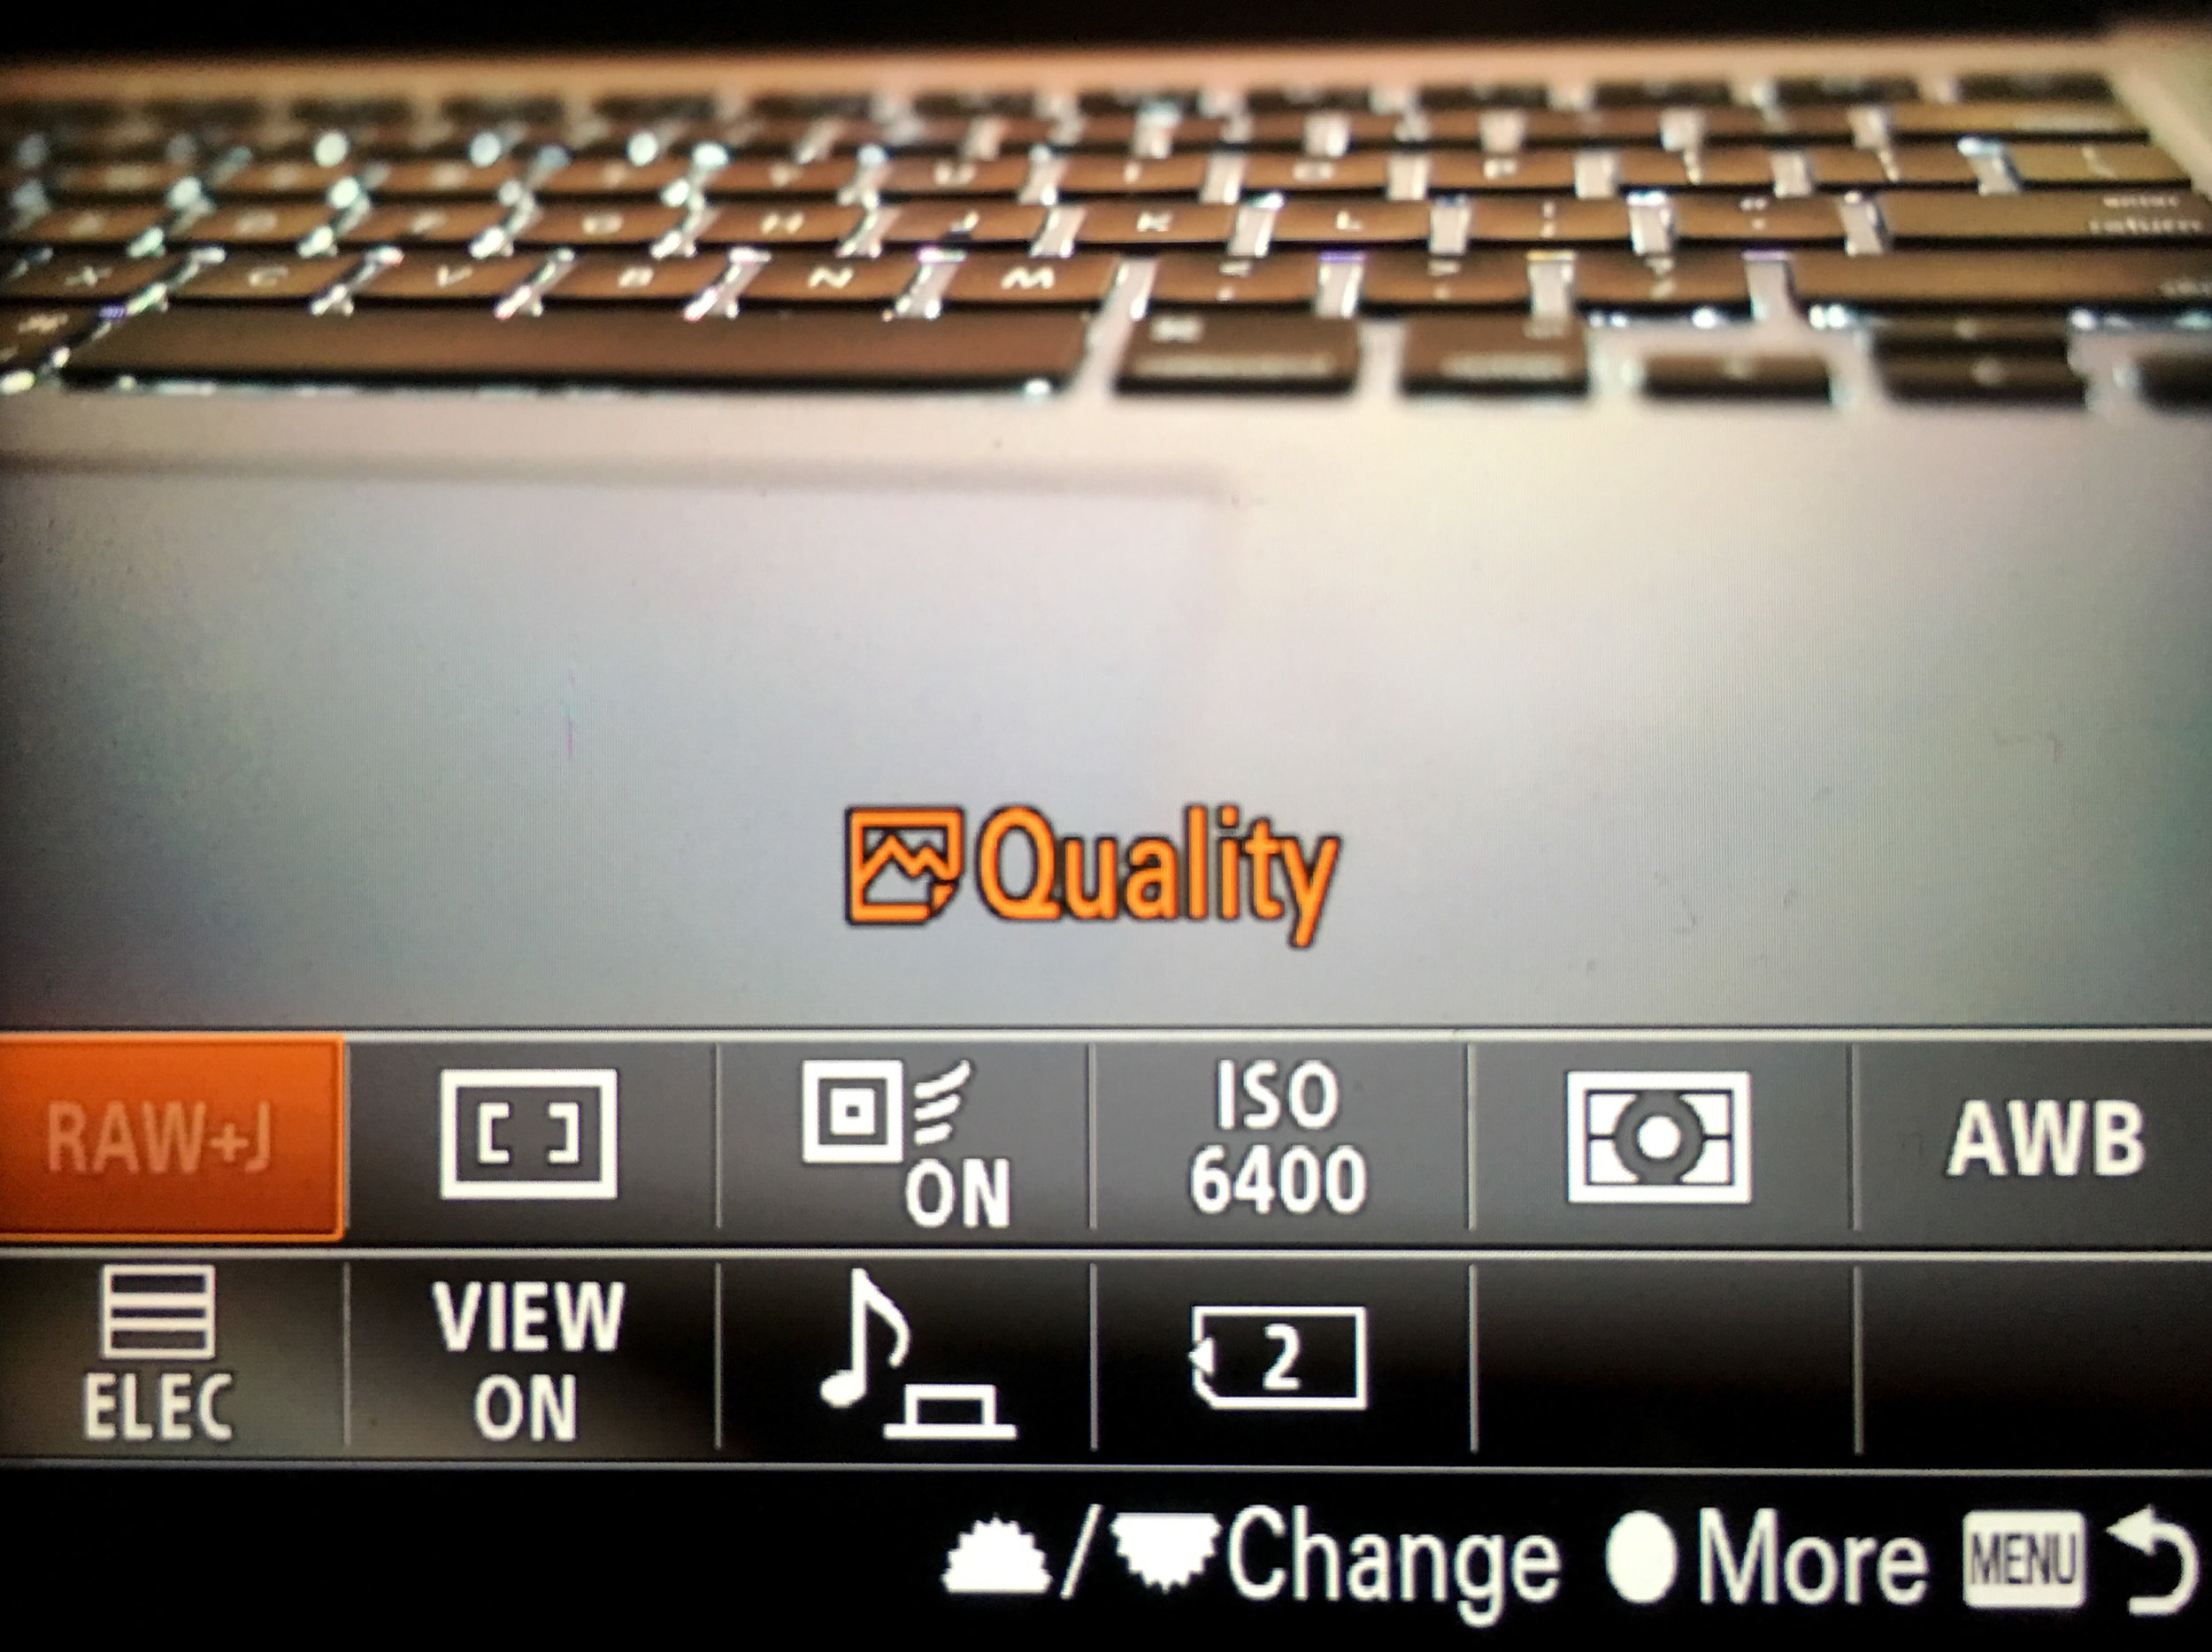
Upper 1 Quality
Upper 2 Focus Area
Upper 3 Center Lock-on AF
Upper 4 ISO
Upper 5 Metering Mode
Upper 6 White Balance
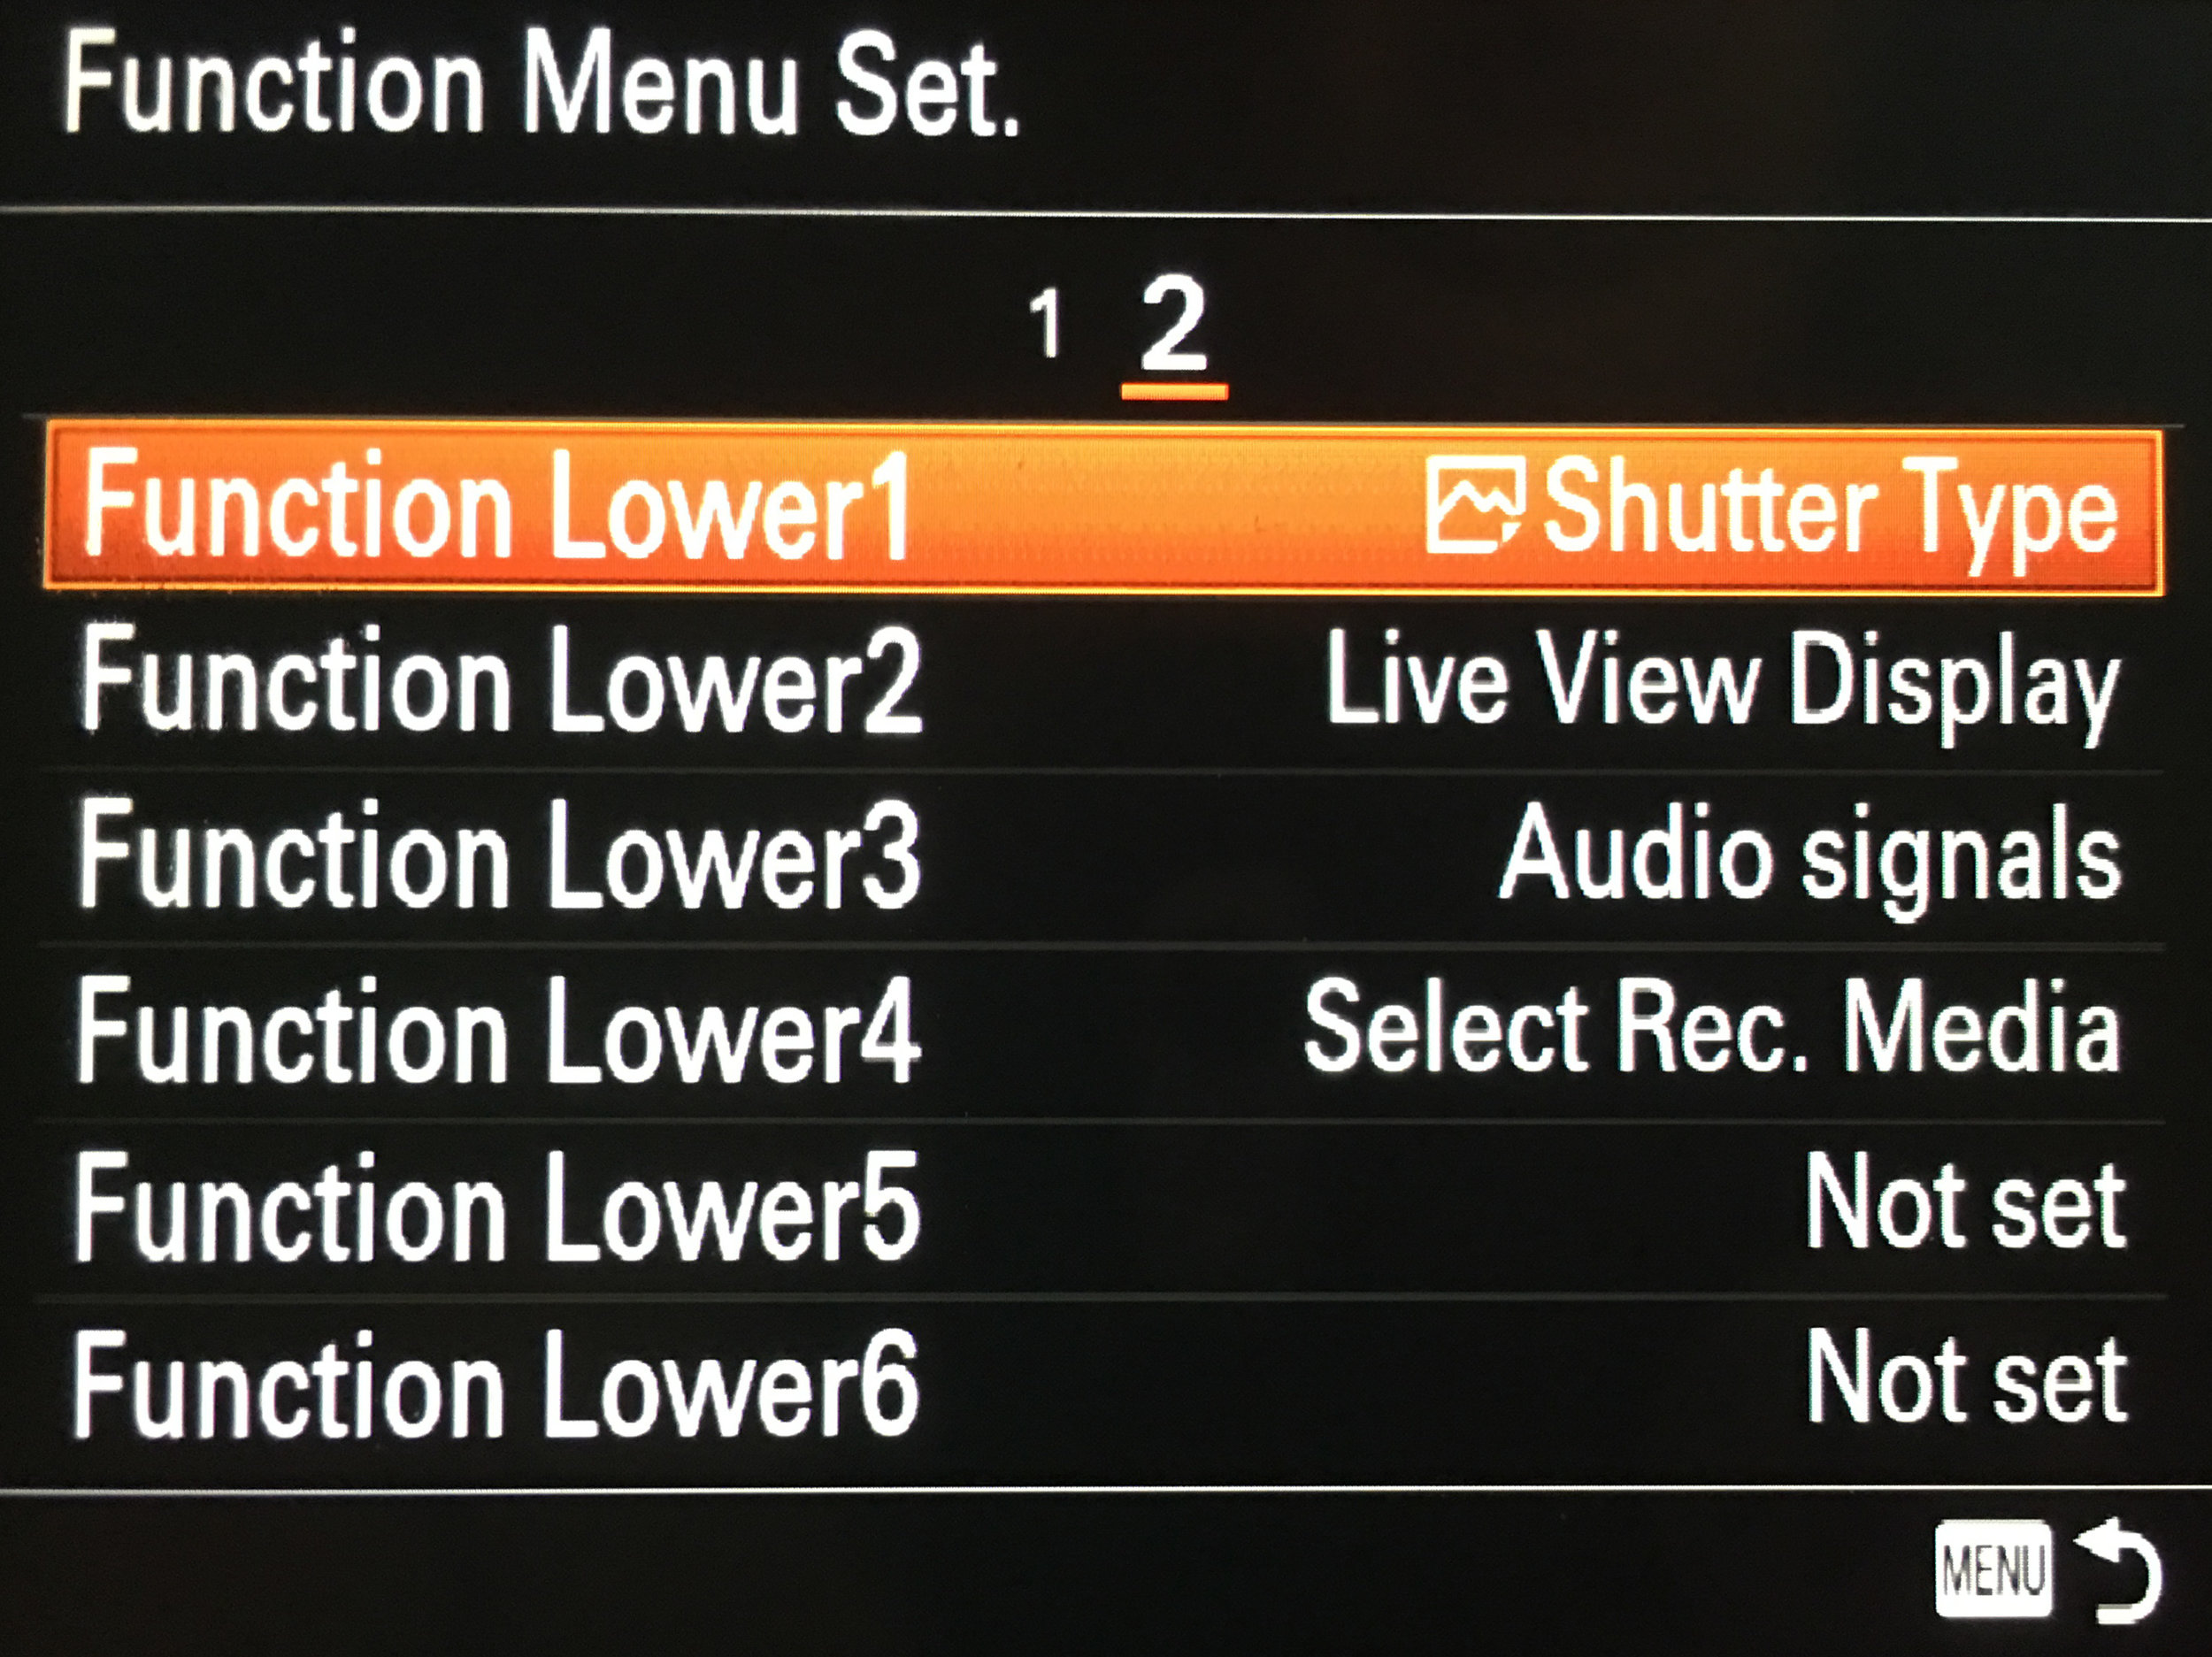
Lower 1 Shutter Type
Lower 2 Live View Display
Lower 3 Audio signals
Lower 4 Select Rec. Media
Lower 5 Not Set
Lower 6 Not Set
Dial Setup SS / F - Shutter Speed (front), Aperture (back)
Dial Ev Comp Off
MOVIE Button Movie Mode Only
9/9 CUSTOM OPERATION 2
Lock Operation Parts Off
Audio signals On: e-shutter only
This is where you can go completely silent. I always have the shutter “ticking” sound unless the situation warrants complete silence. Golf, tennis, video interviews, live TV, movie sets, wedding services, and soon, press conferences.
NETWORK (GREEN WORLD)
1/3 NETWORK 1
2/3 NETWORK 2
3/3 NETWORK 3
PLAYBACK (BLUE PLAY BUTTON)
1/3 PLAYBACK 1
Display Rotation Auto
Select PB Media Slot 2 (JPEG-2 slow/top, RAW-1 fast/bottom)
Slot 1 is the fast slot and Slot 2 is slow.
If you send RAW and JPEG to both cards, then you are fine.
If you SORT RAW to one card and JPEG to another, this is a mess. Over on SETUP 5 5/7 is Select Rec Media. Whichever slot you select here will get JPEG and the other will get RAW. Obviously this needs to be set to Slot 2 if you are sorting files as that is the slower slot.
When you go to this Select PB Media under PLAYBACK 1 1/3, regardless of what you select, it always defaults back to the settings of the “Select Rec Media” as soon as you take a picture. Here’s the problem: whatever slot you have selected for “Select PB Media” that is the only slot which will lock an image.
If you’re shooting RAW to Slot 1 and JPEG to Slot 2, you can’t lock a RAW image without going “Select PB Media” every time. Locking an image should do it on both cards, not just one.
This is something which Sony needs to fix in a firmware update as it works correctly on the A7RIII, but it’s missing options on the A9. On the A7RIII, you choose which card to send RAW and JPEG (and it’s spelled out much better) and then you choose your PB card.
2/3 PLAYBACK 2
Enlarge Init Mag Standard Mag
Enlarge Initial Pos Focused Position
3/3 PLAYBACK 3
SETUP (YELLOW SUITCASE)
1/7 SETUP 1
Monitor Brightness Manual
Viewfinder Bright Auto
Finder Color Temp 0
Volume Settings 15
Delete confirm “Delete” First
2/7 SETUP 2
Per Save Start Time 1 Min
Auto Pwr OFF Temp Standard
NTSC / PAL Selector NTSC, leave it alone unless you’re in Europe
Touch Operation Off
Demo Mode Off
3/7 SETUP 3
TC / UB Settings Leave it alone
Remote Ctrl Off
HDMI Settings Auto, 24p or 60p, On, Off, -, On
USB Connection Auto
USB LUN Setting Multi
4/7 SETUP 4
USB Power Supply On
PC Remote Settings PC only
Date / Time Setup YYYY-MM-DD
5/7 SETUP 5
File Number Reset
Set File Name name files differently from each camera
Select Rec. Media Slot 2 (RAW to 1, JPEG to 2)
Recording Mode Sort (JPEG / RAW)
6/7 SETUP 6
7/7 SETUP 7
MY MENU (SILVER STAR)
1/3 MY MENU 1
Shutter Type
AF Track Sens
Recording Mode
Select Rec Media
Format
Lock Operation Parts
Auto Review
Audio signals
Live View Display
FINDER/MONITOR
Display Media Info
